How to properly grow dill on a windowsill in winter at home
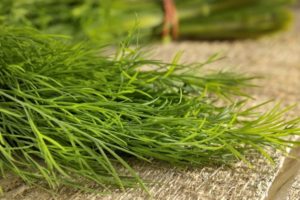
Most people prefer to consume fresh herbs. At any time of the year, dill is popular, which can be grown on a windowsill, the main thing is to know how. And although it is sold year-round in the store, it is much more pleasant to create a mini-vegetable garden on the windowsill.
Features of growing dill step by step
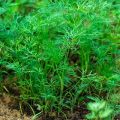
Dill is grown as a spicy herb, but there are people who value it for its medicinal and beneficial properties.
If a novice gardener has an idea for growing odorous and lush dill at home, you must:
- choose the right variety;
- get acquainted with the technology of cultivation;
- prepare the necessary inventory.
Let's consider in more detail the features of growing dill in the house.
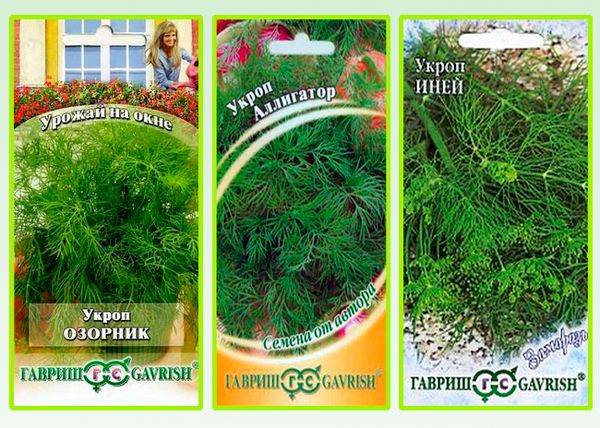
Variety selection
Breeders have developed many varieties of dill. They differ in the height of the stems, the presence of splendor of greenery and the timing of flowering and seed ripening. In order to get fresh greens as long as possible, it is better to plant varieties with different ripening periods.
There are plants from which, after 38 days, you can cut off the green mass. After 5-6 leaves grow on the stem, the dill will begin to bloom. Just by this time, the already mid-ripening variety will grow up.
Early maturing varieties
Among the varieties of dill with an early ripening period stand out:
- Further. Within a month dill grows, in which rosettes are 25 cm long. The density of leaves is considered average. They have a deep green color, covered with a waxy coating. This variety has a strong immunity to diseases and pests.
- Gribovsky. Can be sown in spring, in the middle of summer, with supplementary lighting in winter. It grows fragrant leaves throughout the month.
- Aurora. It is considered a new variety that gives early greens. Already on the 25th day, you can use its juicy leaves, distinguished by a spicy smell and richness. Plants develop well, rarely get sick and are not damaged by pests.
Mid-season varieties
In varieties of dill, which are classified as mid-season, the growing season is lengthened by a week, so they differ from the earlier ones in larger foliage.
Among the mid-season varieties of dill, the following are known:
- Bushy. A lot of greenery grows, they begin to collect it after 70 days. The first cut is made from below. You can cut leaves from one plant several times. He has a lot of juicy, aromatic greenery.
- Lesnogorsky. Recommended for large, aromatic leaves. Even when the umbrellas appear, you can continue cutting the leaves. The variety is resistant to diseases and pests.
- Abundant dill.Grown for lush greenery. It got its name for a reason: the leaves grow in large numbers, fragrant and juicy. It can be sown several times a year.
Late-ripening varieties
These plants are distinguished by the fact that delicate greens remain on them for a long time. They sometimes do not have time to ripen to the end.
Among the well-known late varieties:
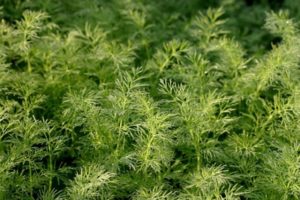
- Alligator. It is prized for its long lasting lush greenery. Umbrellas with flowers form late in it, so greens can be harvested almost the entire summer season. The leaves are bright green, covered with a waxy bloom.
- Kibray. Its leaves are wide, green with a slight yellowness. Plaque is almost invisible. The rosettes are large, grow to a height of 40 cm.
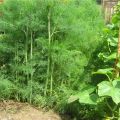
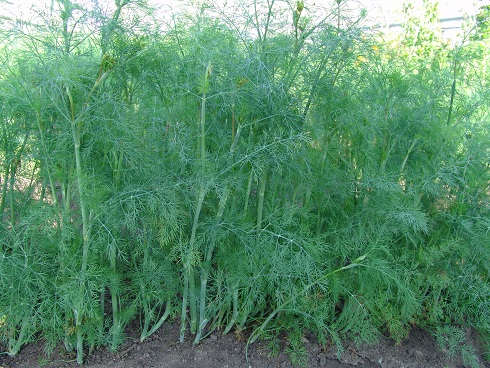
- Dill. Popular Dutch variety. Differs in unpretentiousness, enduring different conditions. Gives a lot of fragrant greenery. Cutting can be done for a long time. It grows up to 1.5 meters in height.
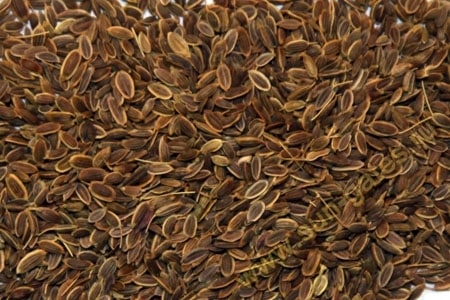
Seed preparation
So that only high-quality seeds come across for sowing and germinate faster, you need to soak them in warm water. They are placed in a cloth and soaked for about a day, changing the water after 12 hours.
Seeds can be treated with a weak solution of potassium permanganate, holding for 3 hours.
It is advisable to remove those grains that have surfaced, since they are considered unsuitable for sowing, and those immersed in the bottom of the dishes must be dried a little on paper.
Required inventory
For sowing dill you can purchase containers that are used for growing seedlings. It is advisable to make holes in them for the drainage of excess water, then fill in a drainage layer of about 2 cm. For these purposes, expanded clay is used, which can be purchased at a flower shop. Then it is recommended to fill the container with soil.
Sowing
It is good if garden soil is prepared in advance for planting seeds. If it doesn't work out, you can buy soil for growing flowers. The main condition for obtaining friendly seedlings is the looseness of the soil, therefore, before sowing, you can add a little sand and vermicompost to the ground.
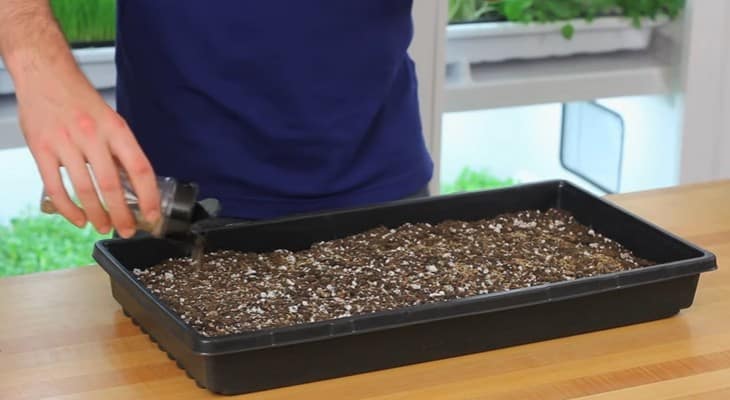
After the container is filled with soil, it needs to be moistened a little more. It is better to do this with a spray bottle. Then make small grooves, the depth of which should correspond to 1.5 cm. It is also recommended to spray them with water. Plant seeds, cover slightly with earth. Cover the container with plastic wrap and place in a warm place.
For planting seeds, the temperature must be at least 18 ° C. Pre-soaked specimens will sprout in about 7-10 days.
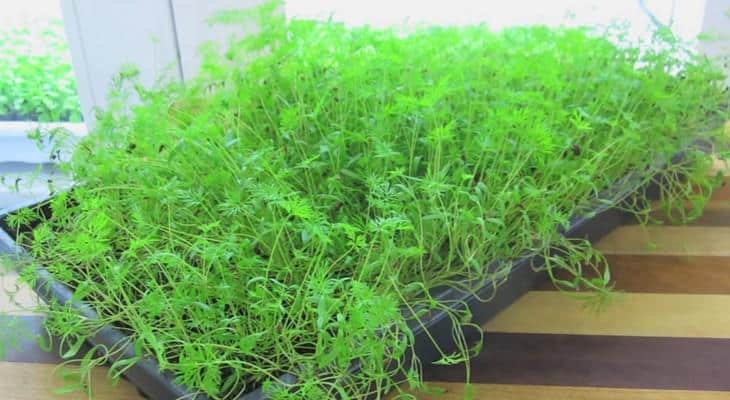
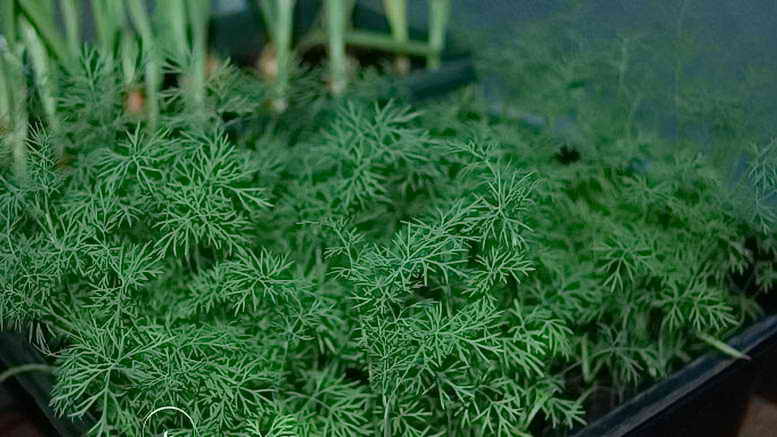
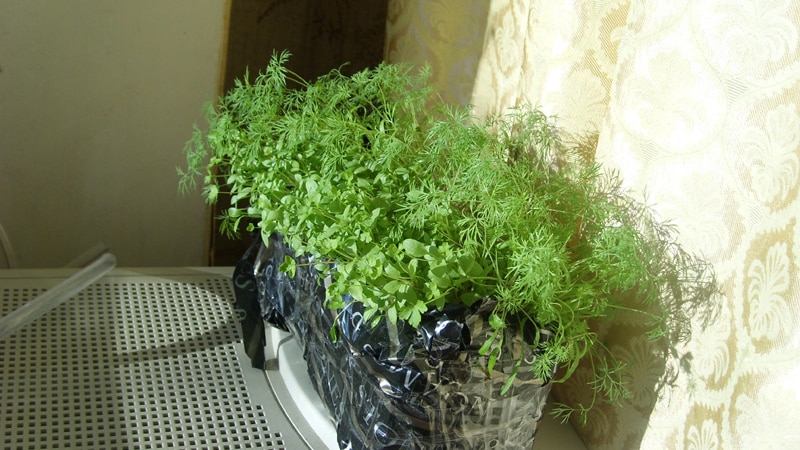
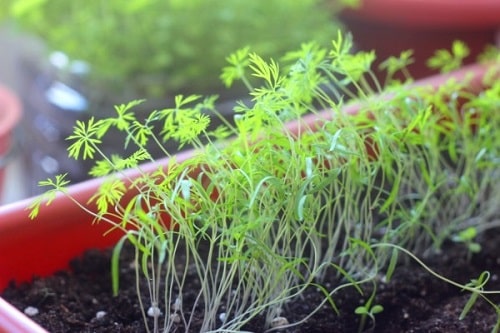
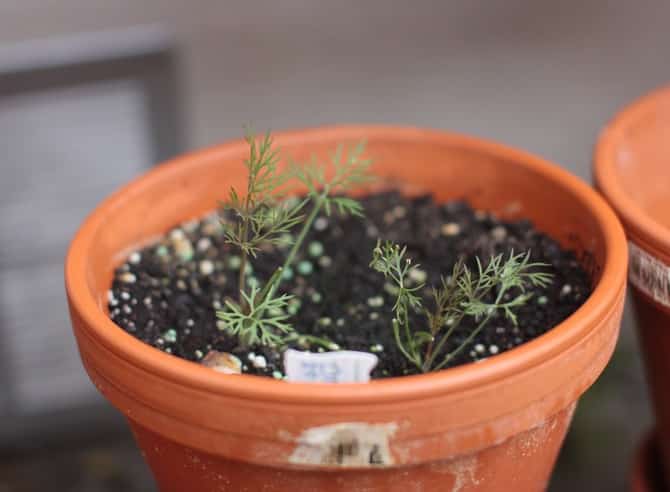
When shoots appear, it is recommended to put the container on the windowsill. So that the dill is not thickened, it is necessary to pull out the excess plants at a distance of 3 cm.
Care
Growing dill on a windowsill in an apartment, especially in winter, is not an easy task. If you do not follow the rules, then the greens will turn out to be frail and weak.
Comfort temperature
After the dill has risen, it is recommended to lower the temperature at night for the first week. To do this, you can open the window or transfer the seedlings to the glazed loggia. For plants, a temperature of 8-9 ° C is sufficient. This is necessary so that the dill does not stretch, and the stems become stronger.
During the day, the temperature is raised to 18 ° C, but if the temperature in the apartment is above 20 ° C, you must place the container on a brightly lit windowsill.
If you do not follow these rules, the dill leaves will be undeveloped and have a pale green color.
Air humidity
In winter, due to heating radiators in the apartment, the air dries up, so it is recommended to humidify it. Spray periodically with a spray bottle. You can put jars filled with water nearby.
It is important to monitor soil moisture.It is recommended to water the plants daily, but make sure that all excess moisture flows out through the special holes on the bottom of the container.
Additional lighting
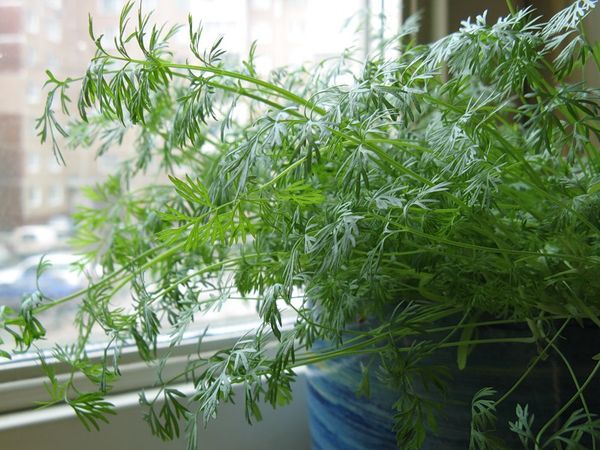
Dill is classified as a light-loving plant. For him, light is one of the important conditions for harvesting. Even heat is not significant in dill growing conditions. It is advisable to put the container with it near the window on the illuminated window sill.
Everyone knows that in winter the daylight hours are much shorter, so the plants will have to be supplemented with white fluorescent or LED lamps. They are suspended above the container at a height of half a meter.
The lighting should last for about 12 hours in winter: plants receive 6 hours of additional lamp illumination when the container is placed on the southern windowsill. If indoors, then light up with a lamp for 15 hours, you can extend the time even longer.
So that the dill does not tilt in one direction, because the plants are drawn to the light, it is recommended to rotate the container 180 degrees. This procedure must be performed every day.
Fertilization
It is necessary to make additional fertilizing after about 2 weeks. These can be complex mineral fertilizers with microelements and organic fertilizers, which are now sold in bottles. It is recommended to use mineral - "Juno", "Kemira" and organic - "Bioactive", "Organic-balance" and others.
Harvesting
To achieve good results, it is more correct to cut the dill greens when the plants grow to 20-25 cm. It is best to first remove the lower leaves by cutting them with scissors. After that, it is advisable to water the dill and sprinkle it from a spray bottle. Later on, the leaves will begin to grow again on the stem.
Growing dill is a fun activity, although you have to work hard to create the necessary conditions for it. But it's worth it, because there will be an opportunity to admire a beautiful plant and add it to dishes, picking it from a mini-garden.